Email Instructions
Our normal business hours are Monday - Friday 9am - 5pm EST.
If you have a true business emergency related to your website after our normal business hours; please email urgent@legendwebworks.com.
MICROSOFT OUTLOOK FOR IOS 10 (IMAP OVER SSL)
To configure the Microsoft Outlook App for an iPhone or an iPad with iOS 10 to receive and send email on our servers using IMAP and SMTP over SSL, you can follow the steps below. In this manual we are using example domain name and email address, so please make sure to replace:
 |
username@example.com with your email address your_server.com with your server's host name |
1. Once you have the application installed, open it and tab the Get Started button.
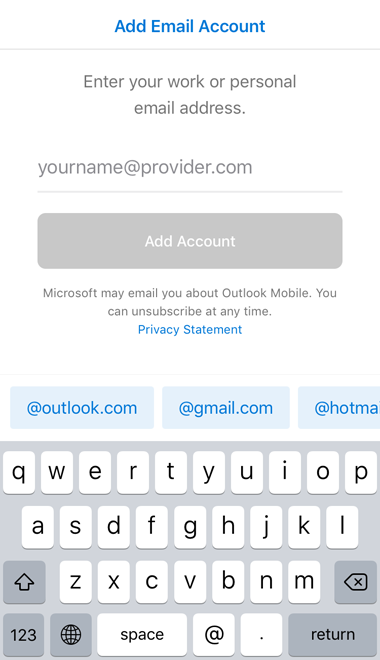
2. Enter your email address and tab Add Account.
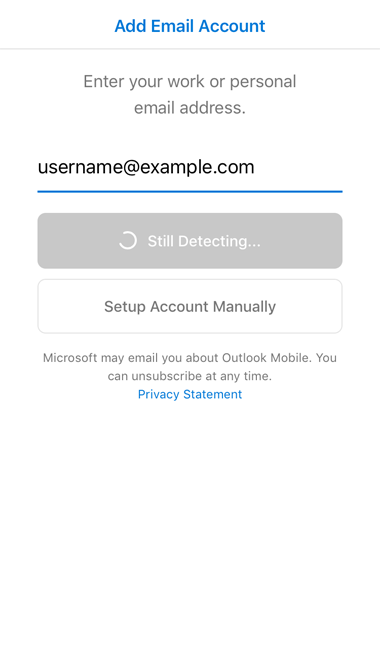
3. Select Setup Account Manually.
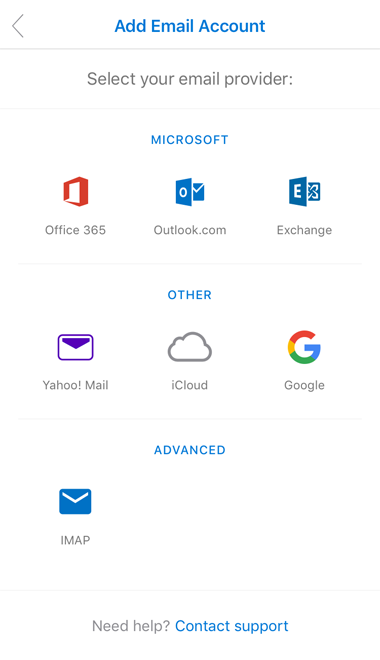
4. On the Select your email provider screen, select IMAP Under Advanced.
5. Enable the Use Advanced Settings toggle.
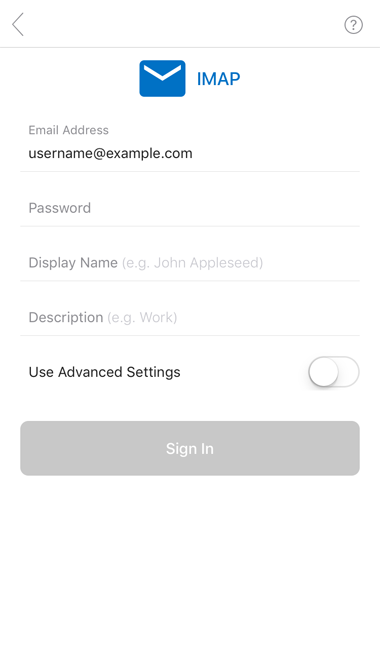
6. Specify the following details:
IMAP Hostname: mail.your_server.com (replace your_server.com with the server's hostname)
IMAP Username: username@example.com (replace username@example.com with your email address)
IMAP Password: Enter the current password for the mailbox
SMTP Hostname: mail.your_server.com (replace your_server.com with the server's hostname)
SMTP Username: username@example.com (replace username@example.com with your email address)
SMTP Password: Enter the current password for the mailbox
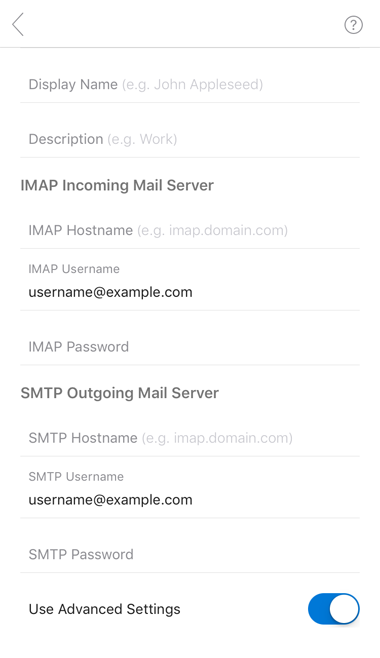
Tab the Sign In button when you've entered all the required settings.
7. Tab the Maybe Later button on the Add Another Account screen.
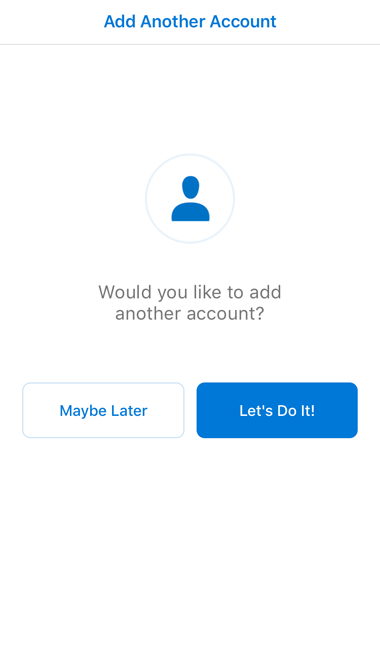
8. Under the Settings menu for the account, we recommend that you disable the Focused Inbox option. Focused Inbox automatically sorts your messages placing the most important emails in "Focused" and the rest in "Other". Of course, you can opt to keep this feature enabled if you wish.
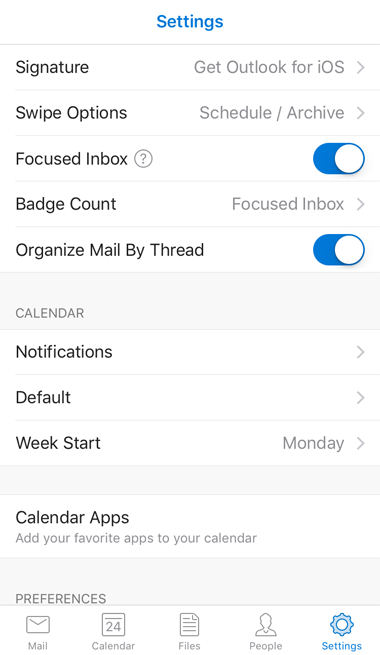
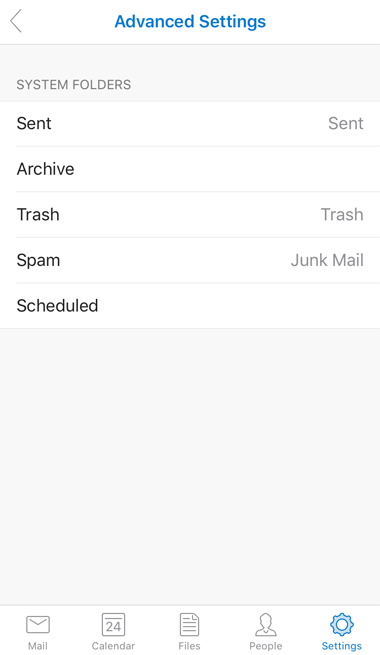
9. Under the Advanced Settings for the account, make sure that the Spam folder is set to Junk Mail.
